Introduction
On March 31st, Citrix released the much anticipated XenApp and XenDesktop 7.6 Feature Pack 1. Among the goodies included, one of the new additions in terms of functionality is Session Recording. For those of you who are new to what session recording is, I recommend this blog by Paul Murray. At a high level, session recording allows organizations to record on-screen activity within a published application or hosted shared desktop. While the benefits are fairly obvious, some of the most common use cases for auditing purposes, troubleshooting application issues, understanding workflow within an application and potentially improve processes and lastly compliance purposes. What I am covering in this blog is how to get your feet wet with the product by setting up a single server session recording environment and test functionality. I will not address HA, scalability and other design considerations in this article. Please review edocs for details on these.
Components: The Nuts and Bolts
So what makes up the session recording infrastructure? There are essentially six components:
- Session Recording Agent – This piece needs to be installed on every Server OS machine that is used to publish applications and hosted shared desktops. The session recording agent is the component responsible for capturing the on screen activity, recording it and transferring the content to the recording server.
- Session Recording Server – There are two components that make up the session recording server namely the broker and the storage manager. The broker is responsible interacts with the session recording player and handles requests for files, search queries etc and also interacts with the session recording policy console to make sure the appropriate recording policies are enforced for every XA/XD session. The storage manager as the name suggests is responsible for managing the recorded session files received from the recording agents.
- Session Recording Player – This is a windows player that allows authorized users to view recorded sessions. Users also have the ability to search for sessions via the recording server and play them back.
- Session Recording Database – SQL database that stores the recorded data.
- Session Recording Policy Console – The policy console allows an administrator to define policies governing the sessions that are recorded and the ones that are not and also whether the users are informed when the session is recorded. You can filter based on server, user groups etc.
- Session Recording Authorization Console – The session recording authorization console allows administrators to enable Role Based Access Controls. For instance, you can specify who is allowed to view recordings, who can modify policies etc.
Installation: So how do we get this thing to work!
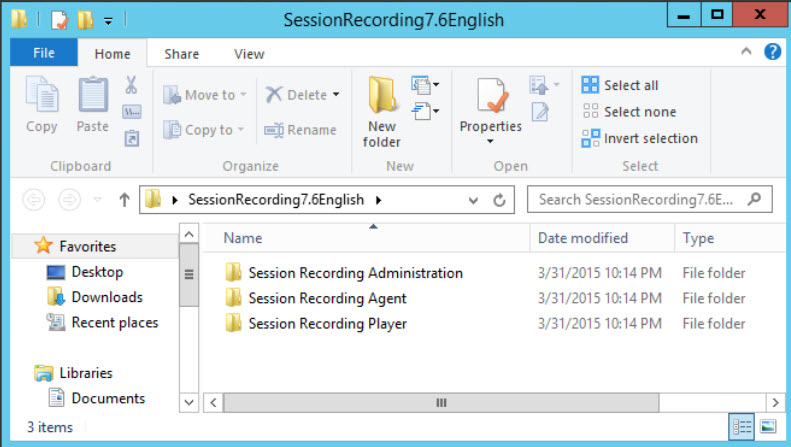
After having gone through the process of installing and configuring session recording, I have to admit that its not the typical next -> next -> next process. You have to pay attention to the instructions and make sure all the pre-requisites are in place. Else you will be going back and forth a number of times. All the installation components are available as a single zip file via MyCitrix under the XA/XD FP1 download section. Once you extract the zip file you will find three folders as shown below. I will walk you through the installation of each of these components.
Session Recording Administration Components
Under the Session Recording Administration Components, you will find two files, “SessionRecordingAdministrationx64” and “Broker_Powershellsnapin_x64”. You can choose to install all the session recording administration components on a single server or split them up. I installed all the components on a single Windows Server 2012 VM in my environment. I believe you can install these components on Server 2008 R2 as well.
The Broker powershell snap-in allows you to script various parameters of session recording and configure options via command line. Its a straightforward installer with nothing to configure as part of the install process.
“SessionRecordingAdministrationx64” installer is what installs the core infrastructure and there are a number of gotchas that you have to take care of prior to running the installer:
- On the windows server you plan to install the administration components, make sure the following Windows server components are installed:

- Make sure you have access to a SQL server (Express, 2014, 2012, 2008 R2) and make sure the NT Authority\System account has sysadmin SQL server role permissions. I used SQL 2012 Express Edition and I installed it on the same server.
- Having SQL Management studio installed really helps as well!.
- If you install SQL server on a stand alone server you need to make sure SQL Server Browser service is running and that the TCP/IP protocol is enabled under the SQL server Network Protocol configuration.
- You need to download and install certain components from the SQL Server 2008 R2 SP3 Feature pack namely SharedManagementObjects and CLR Types. You can find the download here
- Make sure a valid computer certificate is present on the server. The recording server uses SSL/HTTPS by default for communication (and rightly so)
Once you’ve got these pieces installed (I really wish these were documented better as I had to waste a lot of time during the configuration process) you are all set to run the installer. Some screenshots below:
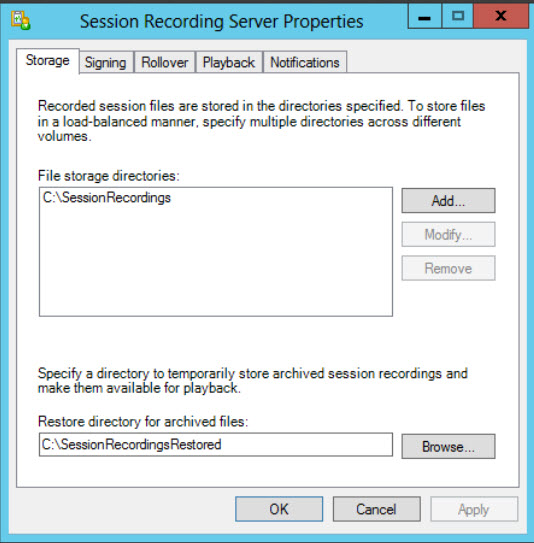
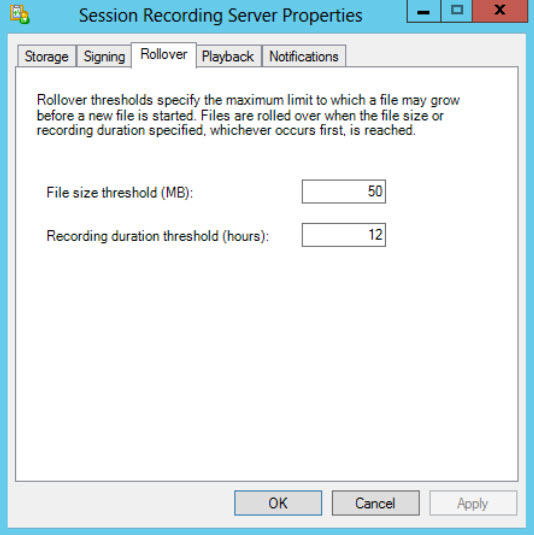
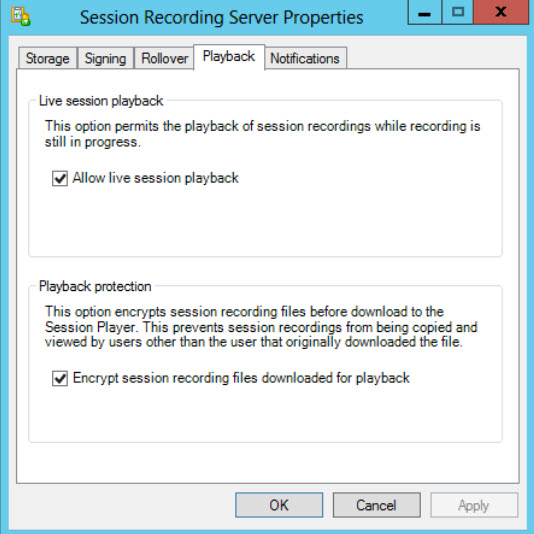
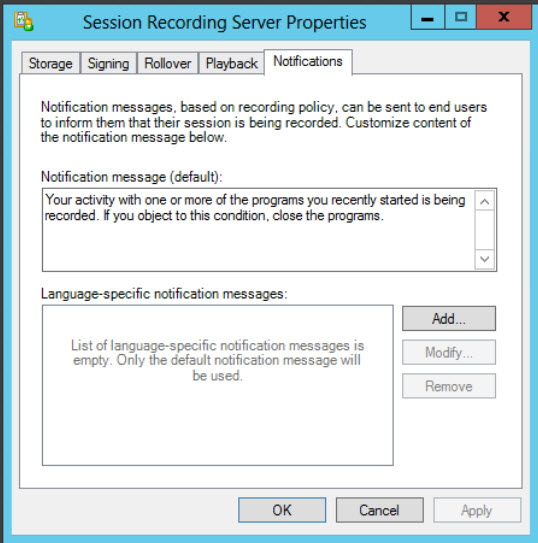
Once all the components are installed, you need to run the Session Recording Server Properties executable which allows you to configure a number of parameters such as the folder where the recordings are stored, which certificate to use for encryption, file threshold parameters and session duration, allow playback of live sessions and what notifications (if any) is sent to the user when a session is being recorded. Below are the screenshots.
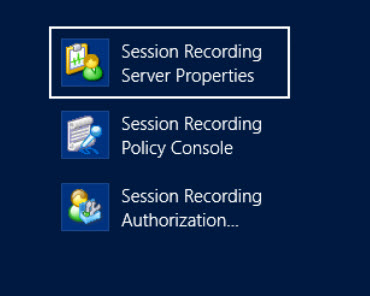

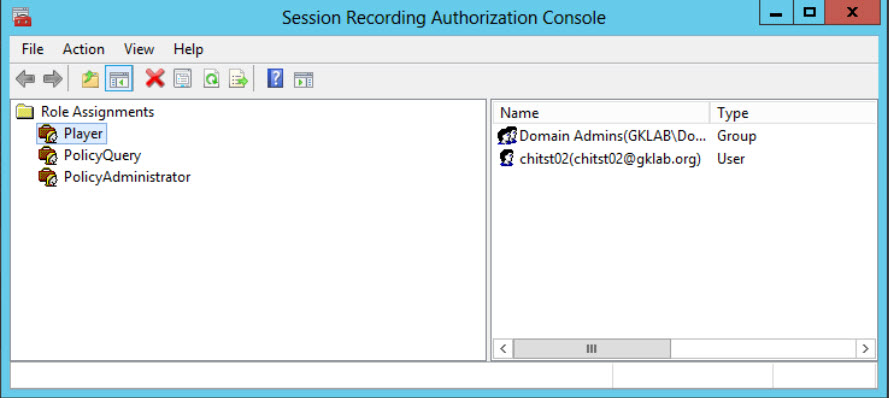
The next step is to run the Session Recording Authorization Console and make sure the appropriate users are given access to administer the environment.
Now, run the session recording policy console and define the appropriate policies to filter what server/user sessions are recorded, whether they are notified and which sessions are not recorded.


And with that, the server components are installed and configured!
Session Recording Agent
As mentioned earlier, the session recording agent needs to be installed on your server workloads that are used to publish applications and desktops. In my case I used a server 2012 machine with the XD 7.6 VDA installed that was a template for my server workload deliver group. You need to install ASP.NET and the Microsoft Message Queuing (including subcomponents) features prior to installing the agent. Once the agent is installed, launch Session Recording Agent properties and specify the recording server name/ip address and the port that is used by the recording server.

Session Recording Player
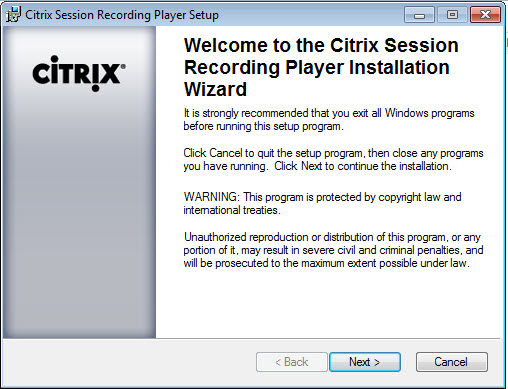
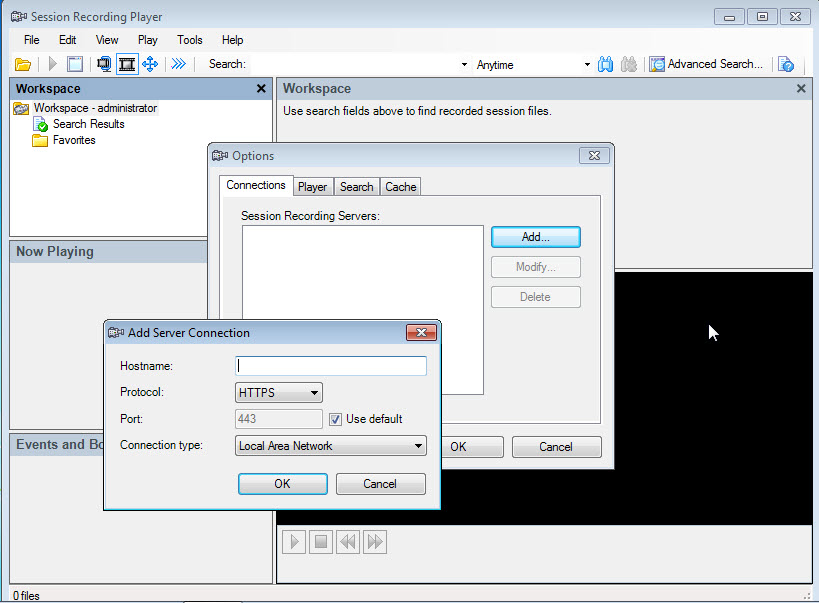
The player needs to be installed on a desktop OS, Windows 7 in my case. No special configuration is required while running the installer. Once the installation is complete, you need to launch the session recording player and go into Tools –>Options to specify the recording server info. Once this is configured, an authorized user can search for user sessions and play back recorded sessions.


User Experience
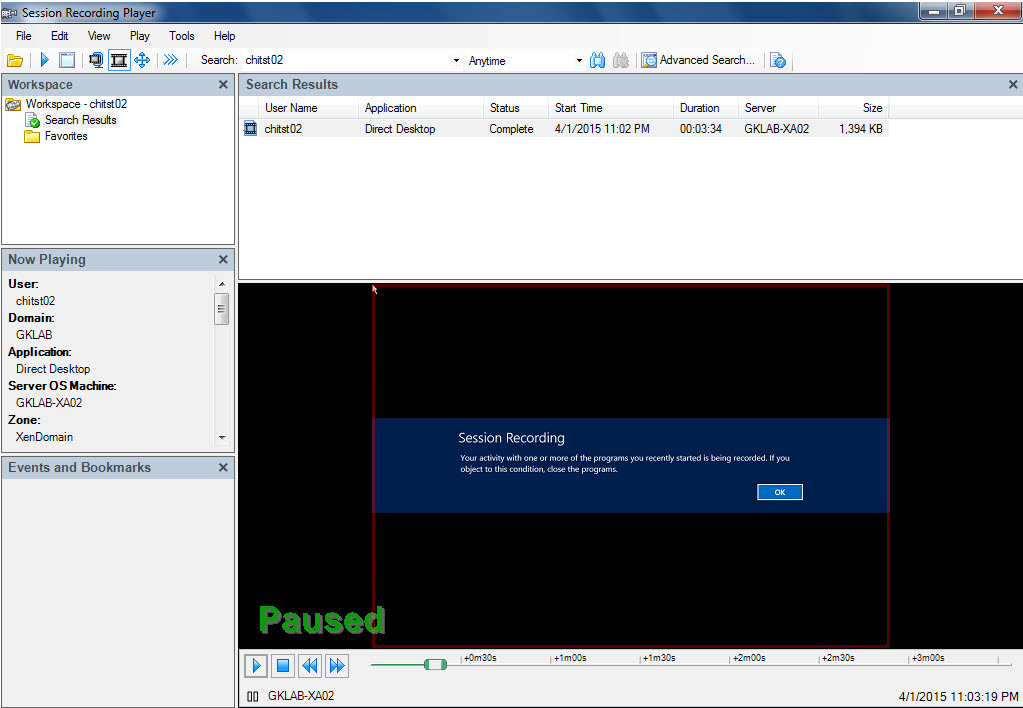
If notification is turned on via policy, the user will notice a warning message (customizable) every time they launch an app or hosted shared desktop. This obviously can be disabled.

Director Integration

Session Recording can also be integrated with Citrix Desktop Director whereby recording can be turned on or off for a specific user session. To enable this integration, run the following command on the server running Director and specify the session recording server and protocol information.
C:\inetpub\wwwroot\Director\tools\DirectorConfig.exe /configsessionrecording
Conclusion
While the installation process was a little tedious, once its up and running, it is an extremely useful tool with minimal configuration moving forward. I have installed the agent in my Server workload template and control whether a session is recorded or not via policy. Works like a charm! I would highly encourage everyone to try out this functionality and provide feedback.
[…] George Kuruvilla – An Introduction To Session Recording (XA/XD 7.6 Feature Pack 1) – Installation, Configuration and … […]
[…] George Kuruvilla – An Introduction To Session Recording (XA/XD 7.6 Feature Pack 1) – Installation, Configuration and … […]